Augmented Reality
Augmented Reality (AR) is becoming vogue and trendy in the tech space right now. I was extremely fascinated by the number of possibilities that AR has to offer.
I started to explore the Mendix AR module. While deep-diving I happened to know about AR.js and I was so curious about exploring the possibilities to integrate AR.js in Mendix. It has got multiple features.
- Location-based
- Marker-based
- Marker-less
Location Based
Location-based AR stands for markerless, position-based, and geo-based Augmented Reality. This solution doesn’t need special markers to identify the location of virtual objects.

Marker-Based AR
Marker-based augmented reality experiences require a static image, also referred to as a trigger photo that a person can scan using their mobile device via an augmented reality app. The mobile scan will trigger the additional content (video, animation, 3D or other) prepared in advance to appear on top of the marker.

Marker-Less AR
Markerless AR places virtual 3D objects in the physical environment depending on the environment’s real features rather than identifying markers. Markerless AR experiences are possible because of advancements in cameras, sensors, processors, and algorithms capable of accurately detecting and mapping the real world.
Awesome! Let’s see how to get started!
Dependency for Ar.js
- Aframe
- jeromeetienne
Sample code
Let see how to build in Mendix
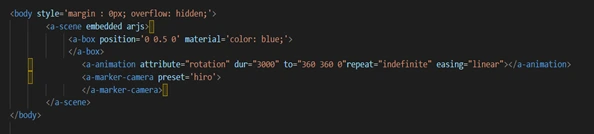
1. The A-frame and AR.js library is imported through these 2 scripts:

2. In the HTML body, include a

This <a-scene>
3. Next, we want to add an object to be included in the <a-scene>

4. Finally the camera can be set up to read the QR code. We can create the Hiro QR code by accessing the link below.

We have a marker in AR.js called "hiro" that is used to display the element, it works like a QR code. Use the below link to generate the customized marker.
https://jeromeetienne.github.io/AR.js/three.js/examples/marker-training/examples/generator.html
The whole code looks like this.

Are you excited to see the results…
Video
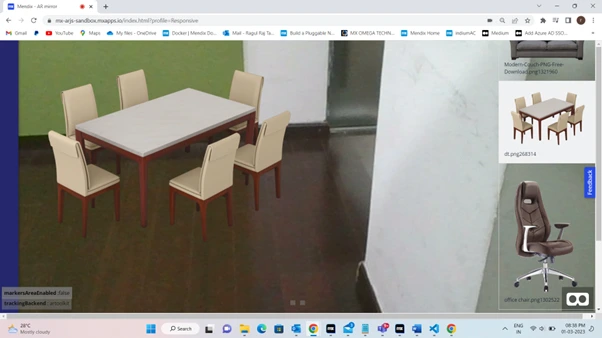
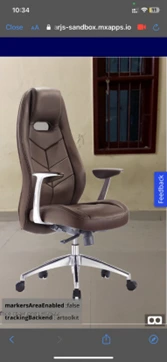
Let’s see how to implement Marker less ar with the real-time scenario
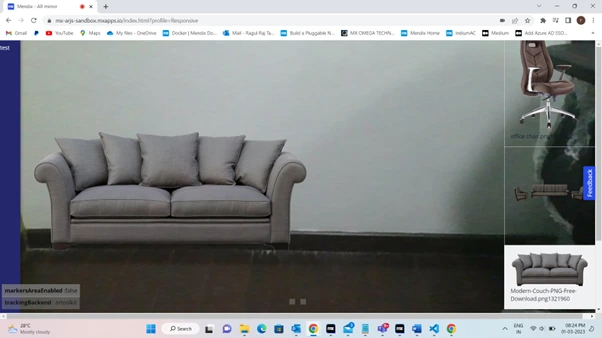
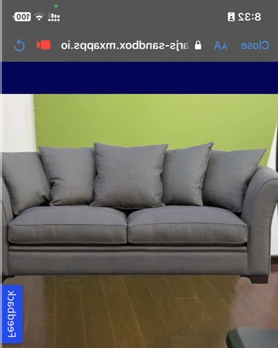
The AR can recognize your space by utilizing the camera element, and a floating list view will be displayed on the right side to list the goods. Choose the desired product, and it will appear in your AR camera.
Let's see how it turns out
If we choose an item from the list of floating things on the right, the object will appear on the AR camera.
How can that be?
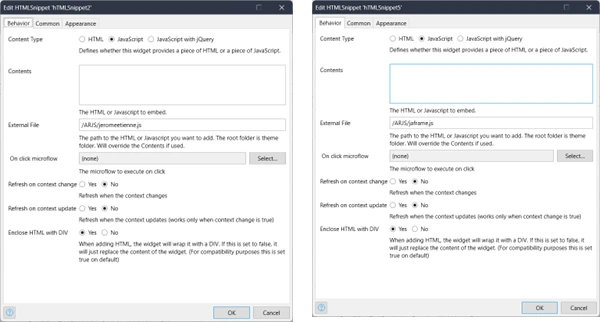
The AR files must be included as an external file in the HTML snippet. A dependency file must be added to the necessary page in order to enable the camera.
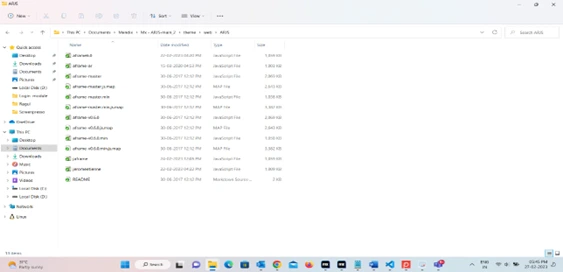
Mendix code base
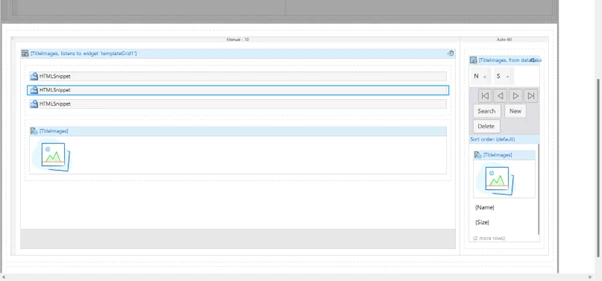
In the HTML Snippet, I have added the “jaframe” and “jeromeetienne.js” library file used to enable the camera while the page opens.
Ultimately, we will receive the outcome seen in the image below.
Hope you find this exciting and useful! We shall check out 3D rotatable objects and size modification in Part 2 of this article.